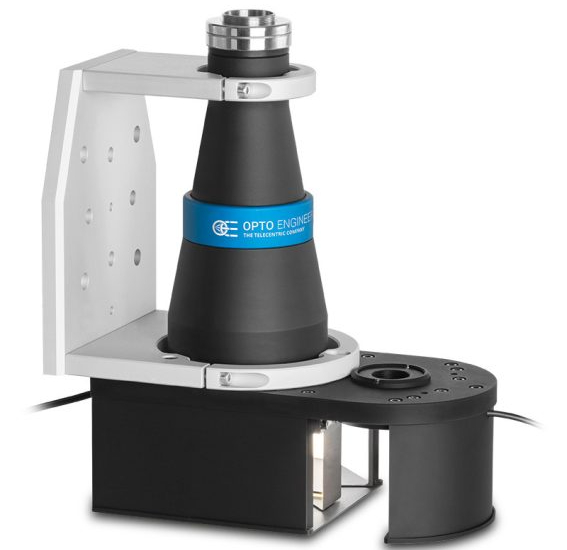
 The Opto Engineering TCCAGE bi-telecentric lens system measures and inspects multiple sides of objects with no need to rotate the object. The TCCAGE is an integrated lens system consisting of a bi-telecentric lens, four mirrors, and both back and direct illumination. Each of the four views are positioned exactly 90° in relation to the adjacent views. The TCCAGE lens system is designed for multi-measurement applications, and inspection of objects such as parts, long & thin objects, and transparent objects.
Opto Engineering 360° lenses are high quality lenses with superb optical performance. They are specifically designed for 360° inspection of objects, and are widely-used in machine vision applications such as automotive, pharmaceutical, and beverage inspection. Our Sales Engineers can provide expert advice and guidance on selecting the right lens for your machine vision macro imaging application. Please contact us if you would like more information.
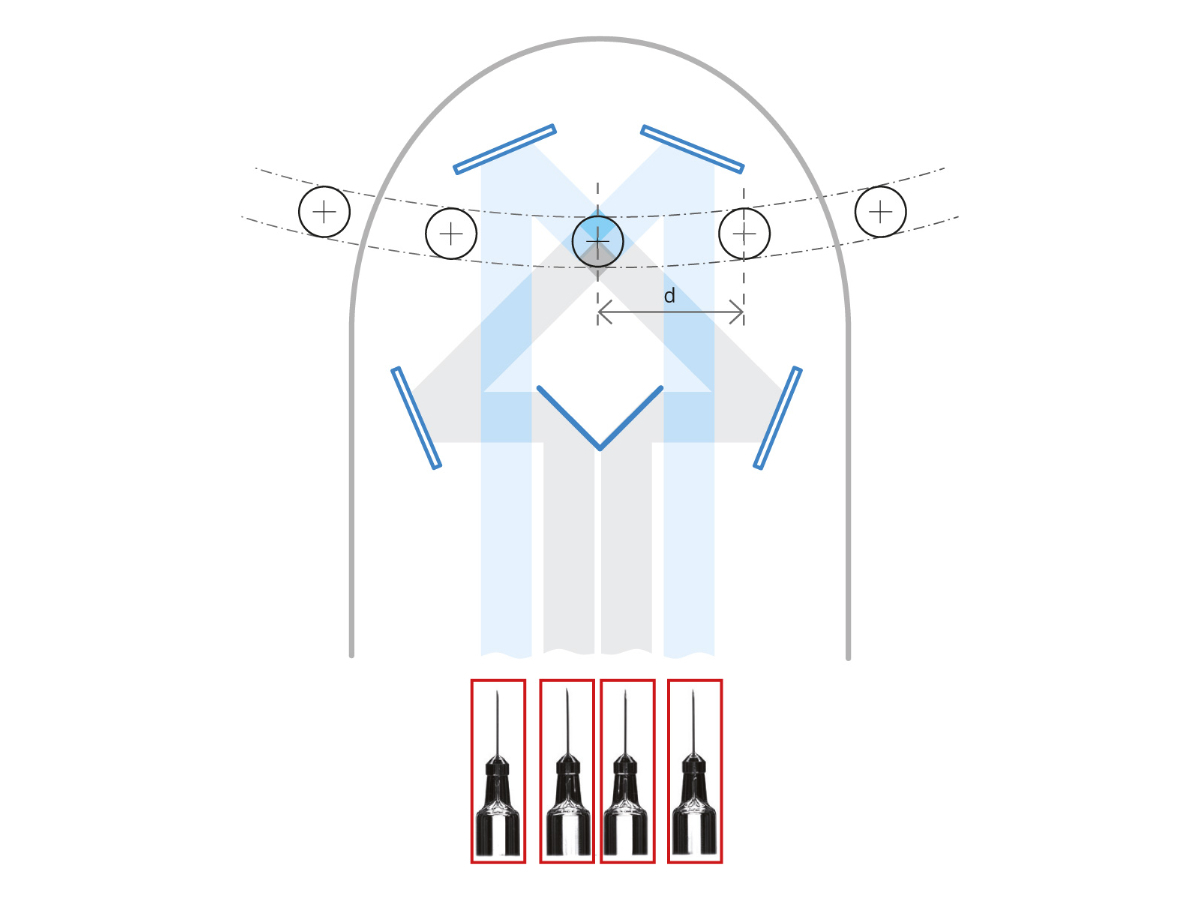
With the bi-telecentric lens, through the use of the mirrors captures the object from four different views, maintaining the same optical path for all four views. The equally spaced views at 90° with some overlapping ensures the complete coverage of all four sides. The bi-telecentric lens maintains the same magnification in all four segments. Even if components are off-center the image quality does not deteriorate.
For inline inspection to avoid overlapping, these formulas provide the suggested minimum distance "d" between two consecutive objects.
TCCAGExx048 d (mm) ≅ 25 + ∅ object / 2
TCCAGExx096 d (mm) ≅ 50 + ∅ object / 2

An extra port provides more flexibility. An additional lens and camera system can be connected directly above the object to inspect the top of an object, or other illuminators can also be connected to the port. This setup could be used for example with a PCHI hole inspection lens, Macro lens, or a TC bi-telecentric lens.

Both direct and backlight illumination are integrated into the TCCAGE lens system. The diagram below shows examples of how each type of lighting might be used. Direct illumination (yellow cone below) placed over the top of the object makes surface imperfections more visible. The backlight (yellow arrow below) is diffused. It illuminates the object through the mirrors. The backlights are useful for measuring or inspecting transparent objects.
